-
×
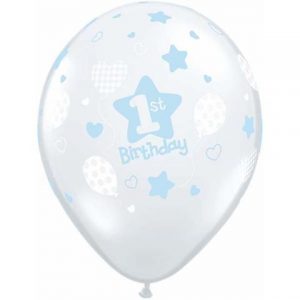 1st Birthday Soft Patterns Boy Balloons (11")
1 × 1.20
1st Birthday Soft Patterns Boy Balloons (11")
1 × 1.20 -
×
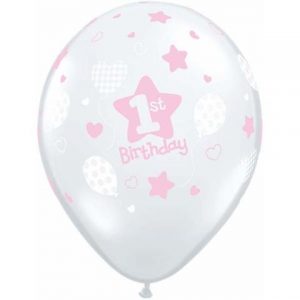 1st Birthday Soft Patterns Girl Balloons (11")
1 × 1.20
1st Birthday Soft Patterns Girl Balloons (11")
1 × 1.20 -
×
 Blue 1st Birthday Circle Stars Boy Balloons (11")
1 × 1.20
Blue 1st Birthday Circle Stars Boy Balloons (11")
1 × 1.20 -
×
 Blue Confetti Cupcake Gift Boxes
2 × 9.50
Blue Confetti Cupcake Gift Boxes
2 × 9.50 -
×
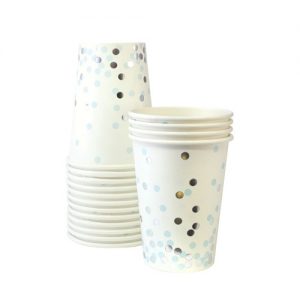 Blue Confetti Paper Cups
2 × 9.50
Blue Confetti Paper Cups
2 × 9.50 -
×
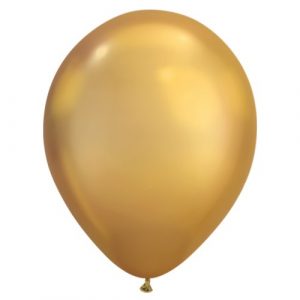 Chrome Gold Balloons (11")
1 × 1.00
Chrome Gold Balloons (11")
1 × 1.00 -
×
 Chrome Silver Balloons (11")
2 × 1.00
Chrome Silver Balloons (11")
2 × 1.00 -
×
 Fashion Marble Balloons (11")
1 × 1.25
Fashion Marble Balloons (11")
1 × 1.25 -
×
 Floral Escape Dessert Plates
2 × 10.50
Floral Escape Dessert Plates
2 × 10.50 -
×
 Geo Gold Dessert Plates
2 × 12.95
Geo Gold Dessert Plates
2 × 12.95 -
×
 Geo Gold Paper Napkins
2 × 11.50
Geo Gold Paper Napkins
2 × 11.50 -
×
 Geo Rose Gold Dessert Plates
2 × 12.95
Geo Rose Gold Dessert Plates
2 × 12.95 -
×
 Geo Silver Dessert Plates
3 × 11.95
Geo Silver Dessert Plates
3 × 11.95 -
×
 Geo Silver Paper Napkins
2 × 11.50
Geo Silver Paper Napkins
2 × 11.50 -
×
 Gold Crush Paper Napkins
1 × 11.50
Gold Crush Paper Napkins
1 × 11.50 -
×
 Gold Flags Cake Topper
1 × 7.50
Gold Flags Cake Topper
1 × 7.50 -
×
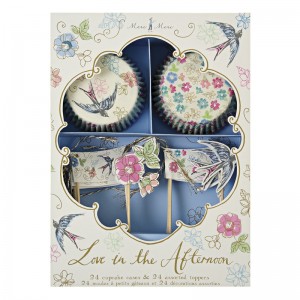
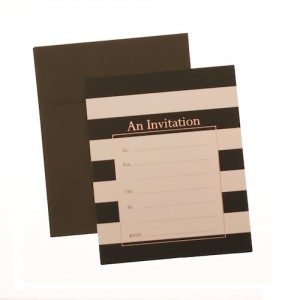 Invitations ~ High Society
1 × 22.95
Invitations ~ High Society
1 × 22.95 -
×
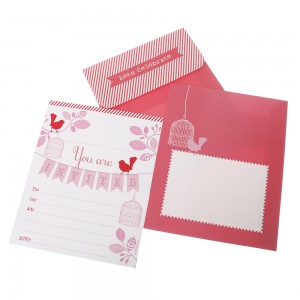
 Invitations ~ Special Delivery Little Girl
1 × 25.95
Invitations ~ Special Delivery Little Girl
1 × 25.95 -
×
 Invitations ~ Early Bird
1 × 13.50
Invitations ~ Early Bird
1 × 13.50 -
×
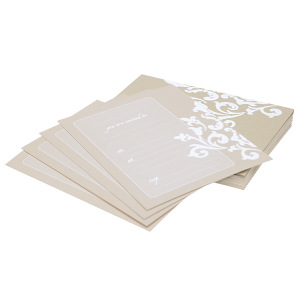 Invitations ~ Ivory Damask
1 × 10.00
Invitations ~ Ivory Damask
1 × 10.00 -
×
 Invitations ~ La Belle
1 × 12.50
Invitations ~ La Belle
1 × 12.50 -
×
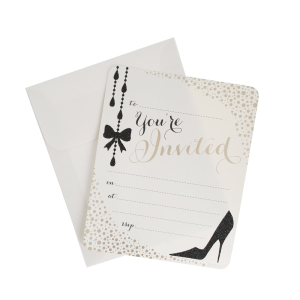 Invitations ~ Glamour
1 × 12.50
Invitations ~ Glamour
1 × 12.50 -
×
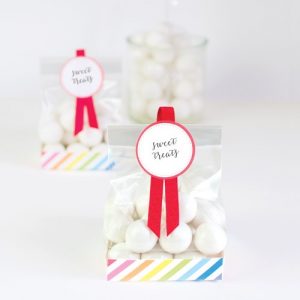 Rainbow Stripes Treat Bags
1 × 10.95
Rainbow Stripes Treat Bags
1 × 10.95 -
×
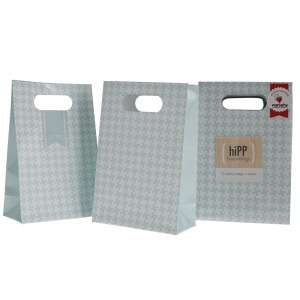 Party Bags & Seals ~ Duck Egg Blue Houndstooth
1 × 9.95
Party Bags & Seals ~ Duck Egg Blue Houndstooth
1 × 9.95 -
×
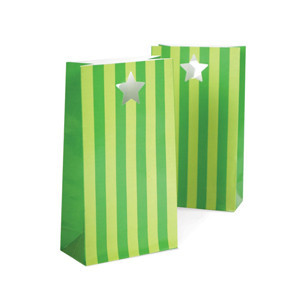 Party Bags ~ Apple Green Stripes
1 × 9.50
Party Bags ~ Apple Green Stripes
1 × 9.50 -
×
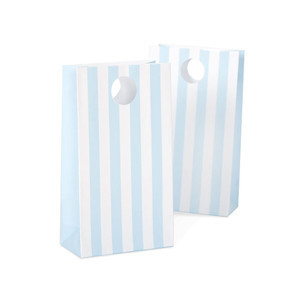 Party Bags ~ Powder Blue Stripes
1 × 8.00
Party Bags ~ Powder Blue Stripes
1 × 8.00 -
×
 Party Bags ~ Blue Stripes
1 × 4.95
Party Bags ~ Blue Stripes
1 × 4.95 -
×
 Party Bags & Seals ~ Sweet Pink Dot
1 × 9.95
Party Bags & Seals ~ Sweet Pink Dot
1 × 9.95 -
×
 Paper Bag ~ Red
2 × 0.40
Paper Bag ~ Red
2 × 0.40 -
×
 Paper Party Bag ~ Pink
2 × 0.40
Paper Party Bag ~ Pink
2 × 0.40 -
×
 Paper Party Bag ~ Lime Green
2 × 0.40
Paper Party Bag ~ Lime Green
2 × 0.40 -
×
 Paper Party Bag ~ Turquoise
2 × 0.40
Paper Party Bag ~ Turquoise
2 × 0.40 -
×
 Paper Party Bag ~ Black
1 × 0.40
Paper Party Bag ~ Black
1 × 0.40 -
×
 Paper Party Bag ~ Silver
1 × 0.40
Paper Party Bag ~ Silver
1 × 0.40 -
×
 Paper Party Bag ~ Gold
1 × 0.40
Paper Party Bag ~ Gold
1 × 0.40 -
×
 Paper Bag ~ White
1 × 0.40
Paper Bag ~ White
1 × 0.40 -
×
 Chalkboard Paper Bunting
1 × 9.50
Chalkboard Paper Bunting
1 × 9.50 -
×
 Chalkboard Paper Flags
1 × 9.50
Chalkboard Paper Flags
1 × 9.50 -
×
 Luau Hibiscus Pennant Banner
1 × 6.00
Luau Hibiscus Pennant Banner
1 × 6.00 -
×
 Polkadot Bunting Flags ~ Pink
1 × 5.50
Polkadot Bunting Flags ~ Pink
1 × 5.50 -
×
 Bunting ~ Porcelain Blue
1 × 10.50
Bunting ~ Porcelain Blue
1 × 10.50 -
×
 Bunting ~ Bake Sale / Lemonade
1 × 10.50
Bunting ~ Bake Sale / Lemonade
1 × 10.50 -
×
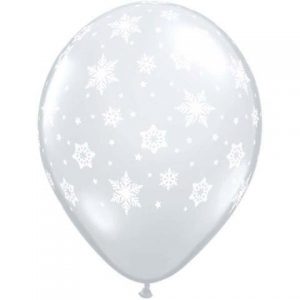 Diamond Clear Snowflakes-A-Round Balloons (11")
1 × 1.20
Diamond Clear Snowflakes-A-Round Balloons (11")
1 × 1.20 -
×
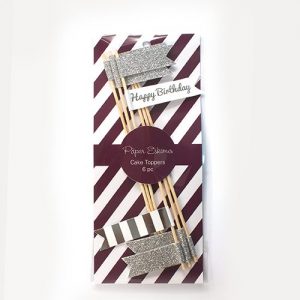 Silver Flags Cake Topper
2 × 6.50
Silver Flags Cake Topper
2 × 6.50 -
×
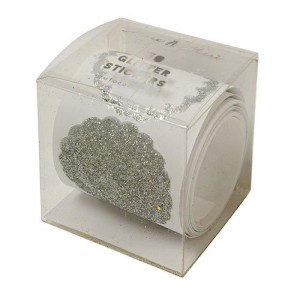 Silver Glitter Stickers
1 × 10.00
Silver Glitter Stickers
1 × 10.00 -
×
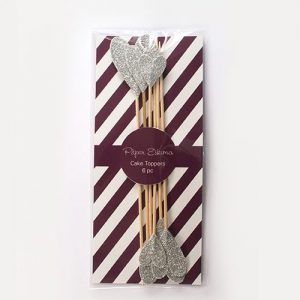 Silver Hearts Cake Topper
2 × 7.50
Silver Hearts Cake Topper
2 × 7.50 -
×
 Silver Sundae Paper Napkins
1 × 11.50
Silver Sundae Paper Napkins
1 × 11.50 -
×
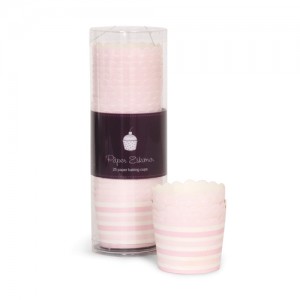
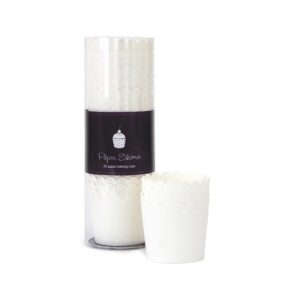 White Baking Cups
1 × 10.50
White Baking Cups
1 × 10.50 -
×
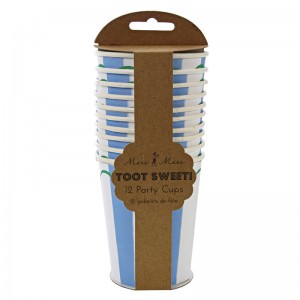 Paper Cups ~ Toot Sweet Blue
1 × 5.00
Paper Cups ~ Toot Sweet Blue
1 × 5.00 -
×
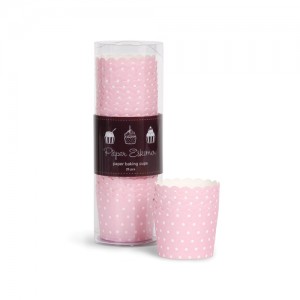
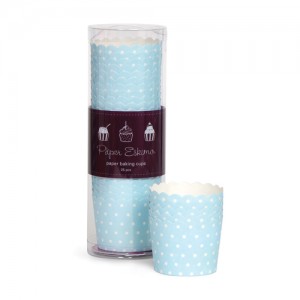 Baking Cups ~ Blue Spots
1 × 10.50
Baking Cups ~ Blue Spots
1 × 10.50 -
×
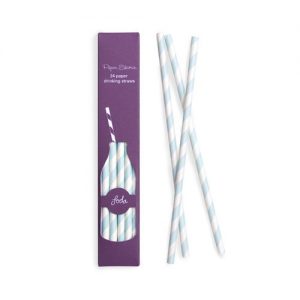 Blue & White Stripe Paper Straws
1 × 7.95
Blue & White Stripe Paper Straws
1 × 7.95 -
×
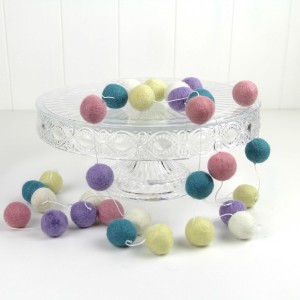 Felt Ball Garland ~ Pastels
1 × 34.95
Felt Ball Garland ~ Pastels
1 × 34.95 -
×
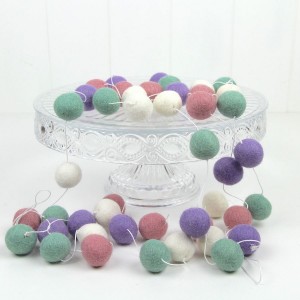 Felt Ball Garland ~ Vintage
1 × 34.95
Felt Ball Garland ~ Vintage
1 × 34.95 -
×
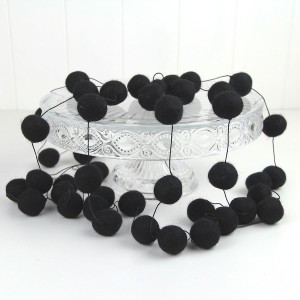 Felt Ball Garland ~ Black
1 × 34.95
Felt Ball Garland ~ Black
1 × 34.95 -
×
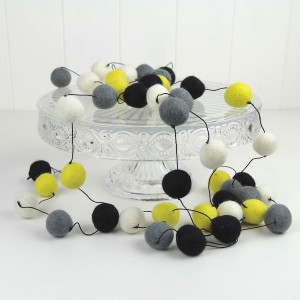 Felt Ball Garland ~ Gotham
1 × 34.95
Felt Ball Garland ~ Gotham
1 × 34.95 -
×
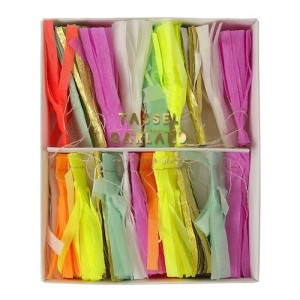 Neon Tassel Mini Garland
1 × 15.00
Neon Tassel Mini Garland
1 × 15.00 -
×
 Toot Sweet Multicoloured Mini Tassel Garland
1 × 14.50
Toot Sweet Multicoloured Mini Tassel Garland
1 × 14.50 -
×
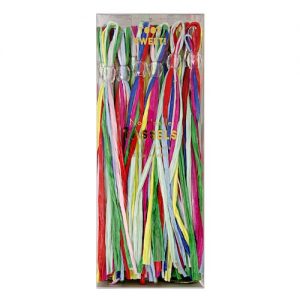 Toot Sweet Multicoloured Party Tassels
1 × 15.50
Toot Sweet Multicoloured Party Tassels
1 × 15.50 -
×
 Tassel Garland ~ Nectar
1 × 24.95
Tassel Garland ~ Nectar
1 × 24.95 -
×
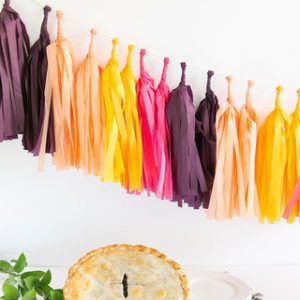
 Tassel Garland ~ Preppy
1 × 24.95
Tassel Garland ~ Preppy
1 × 24.95 -
×
 Tassel Garland ~ Boardwalk
1 × 24.95
Tassel Garland ~ Boardwalk
1 × 24.95 -
×
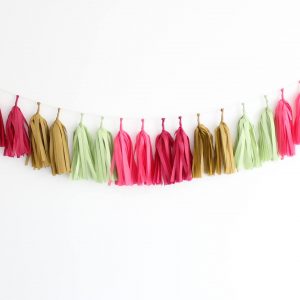
 Tassel Garland ~ Fiesta
1 × 24.95
Tassel Garland ~ Fiesta
1 × 24.95 -
×
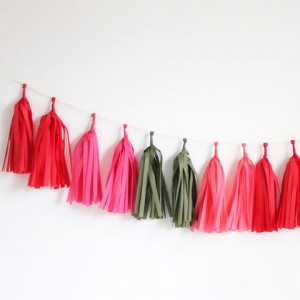
 Tassel Garland ~ Bright
1 × 24.95
Tassel Garland ~ Bright
1 × 24.95 -
×
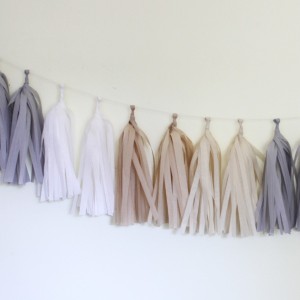 Tassel Garland ~ Natural
1 × 24.95
Tassel Garland ~ Natural
1 × 24.95 -
×
 Tassel Garland ~ Pomme
1 × 24.95
Tassel Garland ~ Pomme
1 × 24.95 -
×
 Tassel Garland ~ Poppy
1 × 24.95
Tassel Garland ~ Poppy
1 × 24.95 -
×
 Tassel Garland ~ Bargello
1 × 24.95
Tassel Garland ~ Bargello
1 × 24.95 -
×
 Tassel Garland ~ Sterling
1 × 24.95
Tassel Garland ~ Sterling
1 × 24.95 -
×
 Black Gold Confetti & Stripe Notecards
1 × 14.95
Black Gold Confetti & Stripe Notecards
1 × 14.95 -
×
 Black Marble & Copper Foil Notecards
1 × 14.95
Black Marble & Copper Foil Notecards
1 × 14.95 -
×
 Airmail Tags ~ Black
1 × 6.00
Airmail Tags ~ Black
1 × 6.00 -
×
 Bakers Twine ~ Grey 90m
1 × 7.95
Bakers Twine ~ Grey 90m
1 × 7.95 -
×
 Bakers Twine ~ Butter Yellow 90m
1 × 7.95
Bakers Twine ~ Butter Yellow 90m
1 × 7.95 -
×
 Bakers Twine ~ Teal 90m
1 × 7.95
Bakers Twine ~ Teal 90m
1 × 7.95 -
×
 Thank You Stamp ~ Script
1 × 4.50
Thank You Stamp ~ Script
1 × 4.50 -
×
 Mini Blackboards on Sticks
1 × 2.50
Mini Blackboards on Sticks
1 × 2.50 -
×
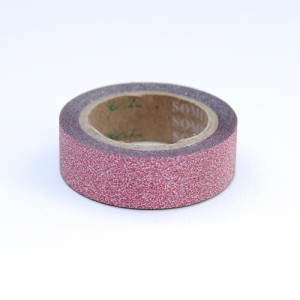
 Glitter Tape ~ Pink
1 × 3.00
Glitter Tape ~ Pink
1 × 3.00 -
×
 Glitter Tape ~ Rose
1 × 3.00
Glitter Tape ~ Rose
1 × 3.00 -
×
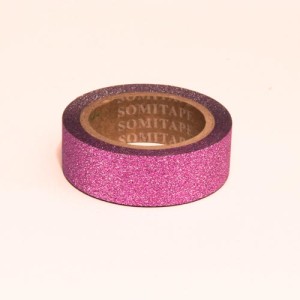 Glitter Tape ~ Hot Pink
1 × 3.00
Glitter Tape ~ Hot Pink
1 × 3.00 -
×
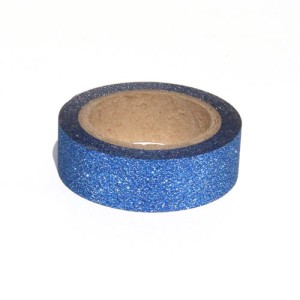 Glitter Tape ~ Blue
1 × 3.00
Glitter Tape ~ Blue
1 × 3.00 -
×
 Glitter Tape ~ Purple
1 × 3.00
Glitter Tape ~ Purple
1 × 3.00 -
×
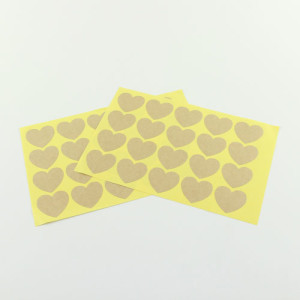 Stickers ~ Kraft Heart
1 × 3.00
Stickers ~ Kraft Heart
1 × 3.00 -
×
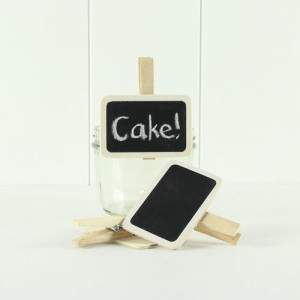 Mini Chalkboard Peg
1 × 0.40
Mini Chalkboard Peg
1 × 0.40 -
×
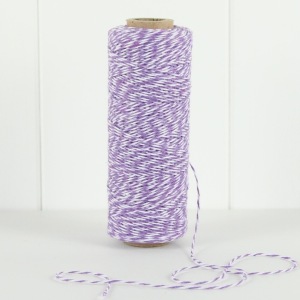 Bakers Twine ~ Purple 90m
1 × 7.95
Bakers Twine ~ Purple 90m
1 × 7.95 -
×
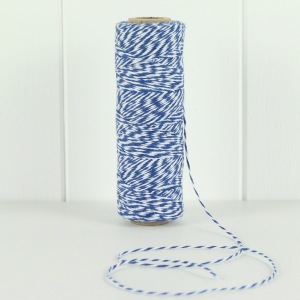 Bakers Twine ~ Navy Blue 90m
1 × 7.95
Bakers Twine ~ Navy Blue 90m
1 × 7.95 -
×
 Solid Green Baking Cups
1 × 10.50
Solid Green Baking Cups
1 × 10.50 -
×
 Solid Hot Pink Baking Cups
1 × 10.50
Solid Hot Pink Baking Cups
1 × 10.50 -
×
 Square Easy Layers Cake Pan Set
1 × 49.95
Square Easy Layers Cake Pan Set
1 × 49.95 -
×
 Toot Sweet Party Picks
1 × 10.00
Toot Sweet Party Picks
1 × 10.00 -
×
 Toot Sweet Swizzle Sticks
1 × 8.50
Toot Sweet Swizzle Sticks
1 × 8.50 -
×
 Truly Scrumptious Cupcake Cases
1 × 6.50
Truly Scrumptious Cupcake Cases
1 × 6.50 -
×
 Truly Scrumptious Cupcake Toppers
1 × 5.50
Truly Scrumptious Cupcake Toppers
1 × 5.50 -
×
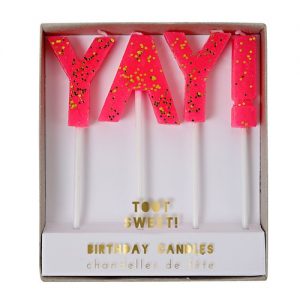 Yay Candles
1 × 11.50
Yay Candles
1 × 11.50 -
×
 Yay! Cake Topper
1 × 16.50
Yay! Cake Topper
1 × 16.50 -
×
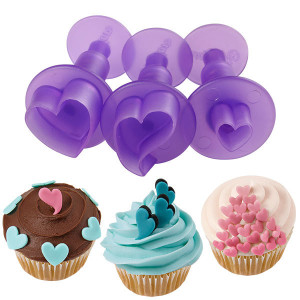 Mini Fondant Cut-Outs Set ~ Hearts
1 × 13.50
Mini Fondant Cut-Outs Set ~ Hearts
1 × 13.50 -
×
 Baking Cups ~ Pink Blush Stripes
1 × 9.95
Baking Cups ~ Pink Blush Stripes
1 × 9.95 -
×
 Baking Cups ~ Pink Spots
1 × 9.50
Baking Cups ~ Pink Spots
1 × 9.50 -
×
 Cupcake Kit ~ Vintage Tea Party
1 × 16.50
Cupcake Kit ~ Vintage Tea Party
1 × 16.50 -
×
 Table Runner / Gift Wrap ~ Clover Aquamarine
1 × 7.95
Table Runner / Gift Wrap ~ Clover Aquamarine
1 × 7.95 -
×
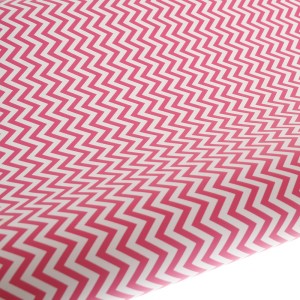 Table Runner / Gift Wrap ~ Habitat Cerise
1 × 7.95
Table Runner / Gift Wrap ~ Habitat Cerise
1 × 7.95 -
×
 Kraft Brown Paper
1 × 8.95
Kraft Brown Paper
1 × 8.95 -
×
 Table Runner / Gift Wrap ~ Chill
1 × 8.95
Table Runner / Gift Wrap ~ Chill
1 × 8.95 -
×
 Table Runner / Gift Wrap ~ Gold Foil
1 × 8.95
Table Runner / Gift Wrap ~ Gold Foil
1 × 8.95 -
×
 Table Runner / Gift Wrap ~ Gold Stripe
1 × 9.95
Table Runner / Gift Wrap ~ Gold Stripe
1 × 9.95 -
×
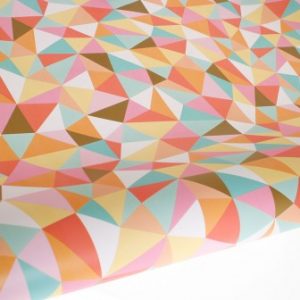 Table Runner / Gift Wrap ~ Mosaic
1 × 7.95
Table Runner / Gift Wrap ~ Mosaic
1 × 7.95 -
×
 Table Runner / Gift Wrap ~ Scatter
1 × 7.95
Table Runner / Gift Wrap ~ Scatter
1 × 7.95 -
×
 Styling Tags ~ Apple Green
1 × 7.50
Styling Tags ~ Apple Green
1 × 7.50 -
×
 Styling Tags ~ Powder Blue
1 × 7.50
Styling Tags ~ Powder Blue
1 × 7.50 -
×
 Styling Tags ~ Blue
1 × 3.95
Styling Tags ~ Blue
1 × 3.95 -
×
 Mini Chalkboard Heart
2 × 0.40
Mini Chalkboard Heart
2 × 0.40 -
×
 Fiesta Fun Cocktail Umbrellas
2 × 8.95
Fiesta Fun Cocktail Umbrellas
2 × 8.95 -
×
 Fiesta Fun Paper Dinner Plates
1 × 6.00
Fiesta Fun Paper Dinner Plates
1 × 6.00 -
×
 Fiesta Fun Paper Lunch Plates
1 × 7.95
Fiesta Fun Paper Lunch Plates
1 × 7.95 -
×
 Fiesta Inflatable Cactus
1 × 10.00
Fiesta Inflatable Cactus
1 × 10.00 -
×
 Fiesta Like There's No Mañana Balloons
1 × 12.50
Fiesta Like There's No Mañana Balloons
1 × 12.50 -
×
 Floral Escape Cupcake Gift Boxes
1 × 9.50
Floral Escape Cupcake Gift Boxes
1 × 9.50 -
×
 Floral Fiesta Pretty Parasols
1 × 9.50
Floral Fiesta Pretty Parasols
1 × 9.50 -
×
 Floral Fiesta Tempting Treat Holders
1 × 7.00
Floral Fiesta Tempting Treat Holders
1 × 7.00 -
×
 Flower Garland
1 × 5.50
Flower Garland
1 × 5.50 -
×
 Frills & Frosting Doilies
1 × 11.95
Frills & Frosting Doilies
1 × 11.95 -
×
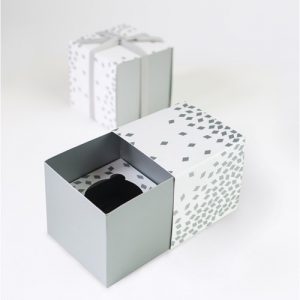
 Geo Gold Cupcake Gift Boxes
1 × 9.50
Geo Gold Cupcake Gift Boxes
1 × 9.50 -
×
 Geo Silver Cupcake Gift Boxes
1 × 9.50
Geo Silver Cupcake Gift Boxes
1 × 9.50 -
×
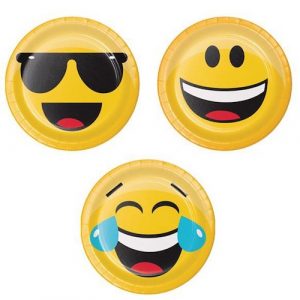 Emojion Luncheon Plates
1 × 4.95
Emojion Luncheon Plates
1 × 4.95 -
×
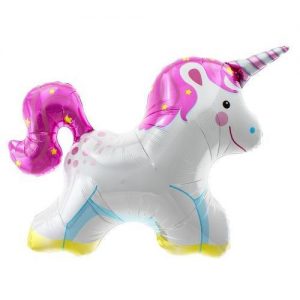 Unicorn Foil Balloon (91cm)
1 × 16.50
Unicorn Foil Balloon (91cm)
1 × 16.50 -
×
 Cupcake Party Napkins
1 × 4.00
Cupcake Party Napkins
1 × 4.00 -
×
 Gold Glitter Stars Mini Garland
1 × 26.95
Gold Glitter Stars Mini Garland
1 × 26.95
Subtotal: 1,482.95
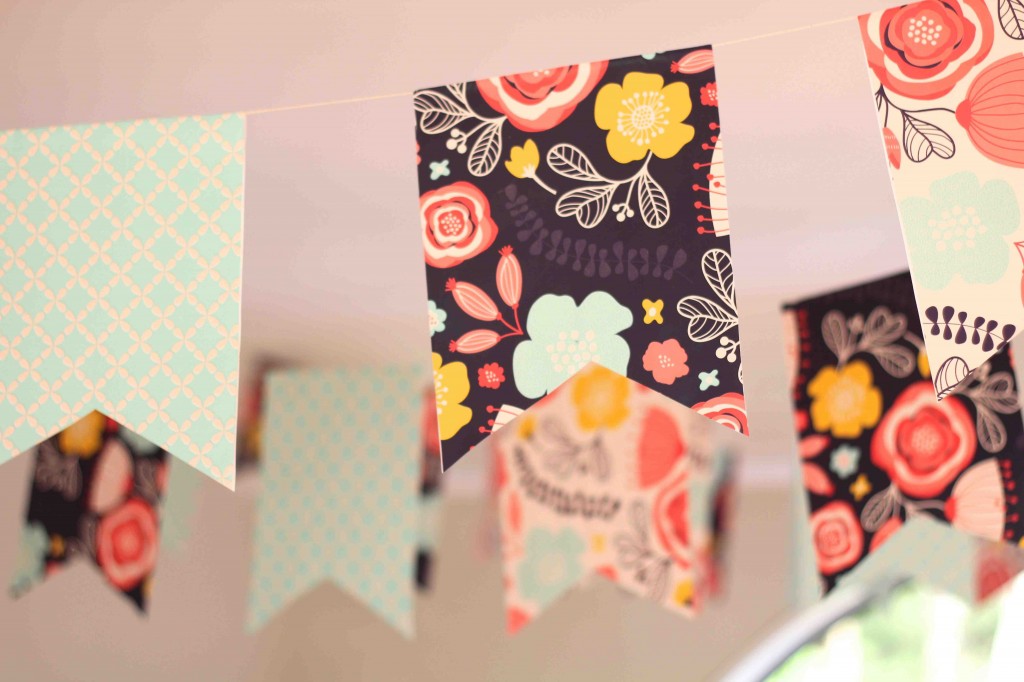
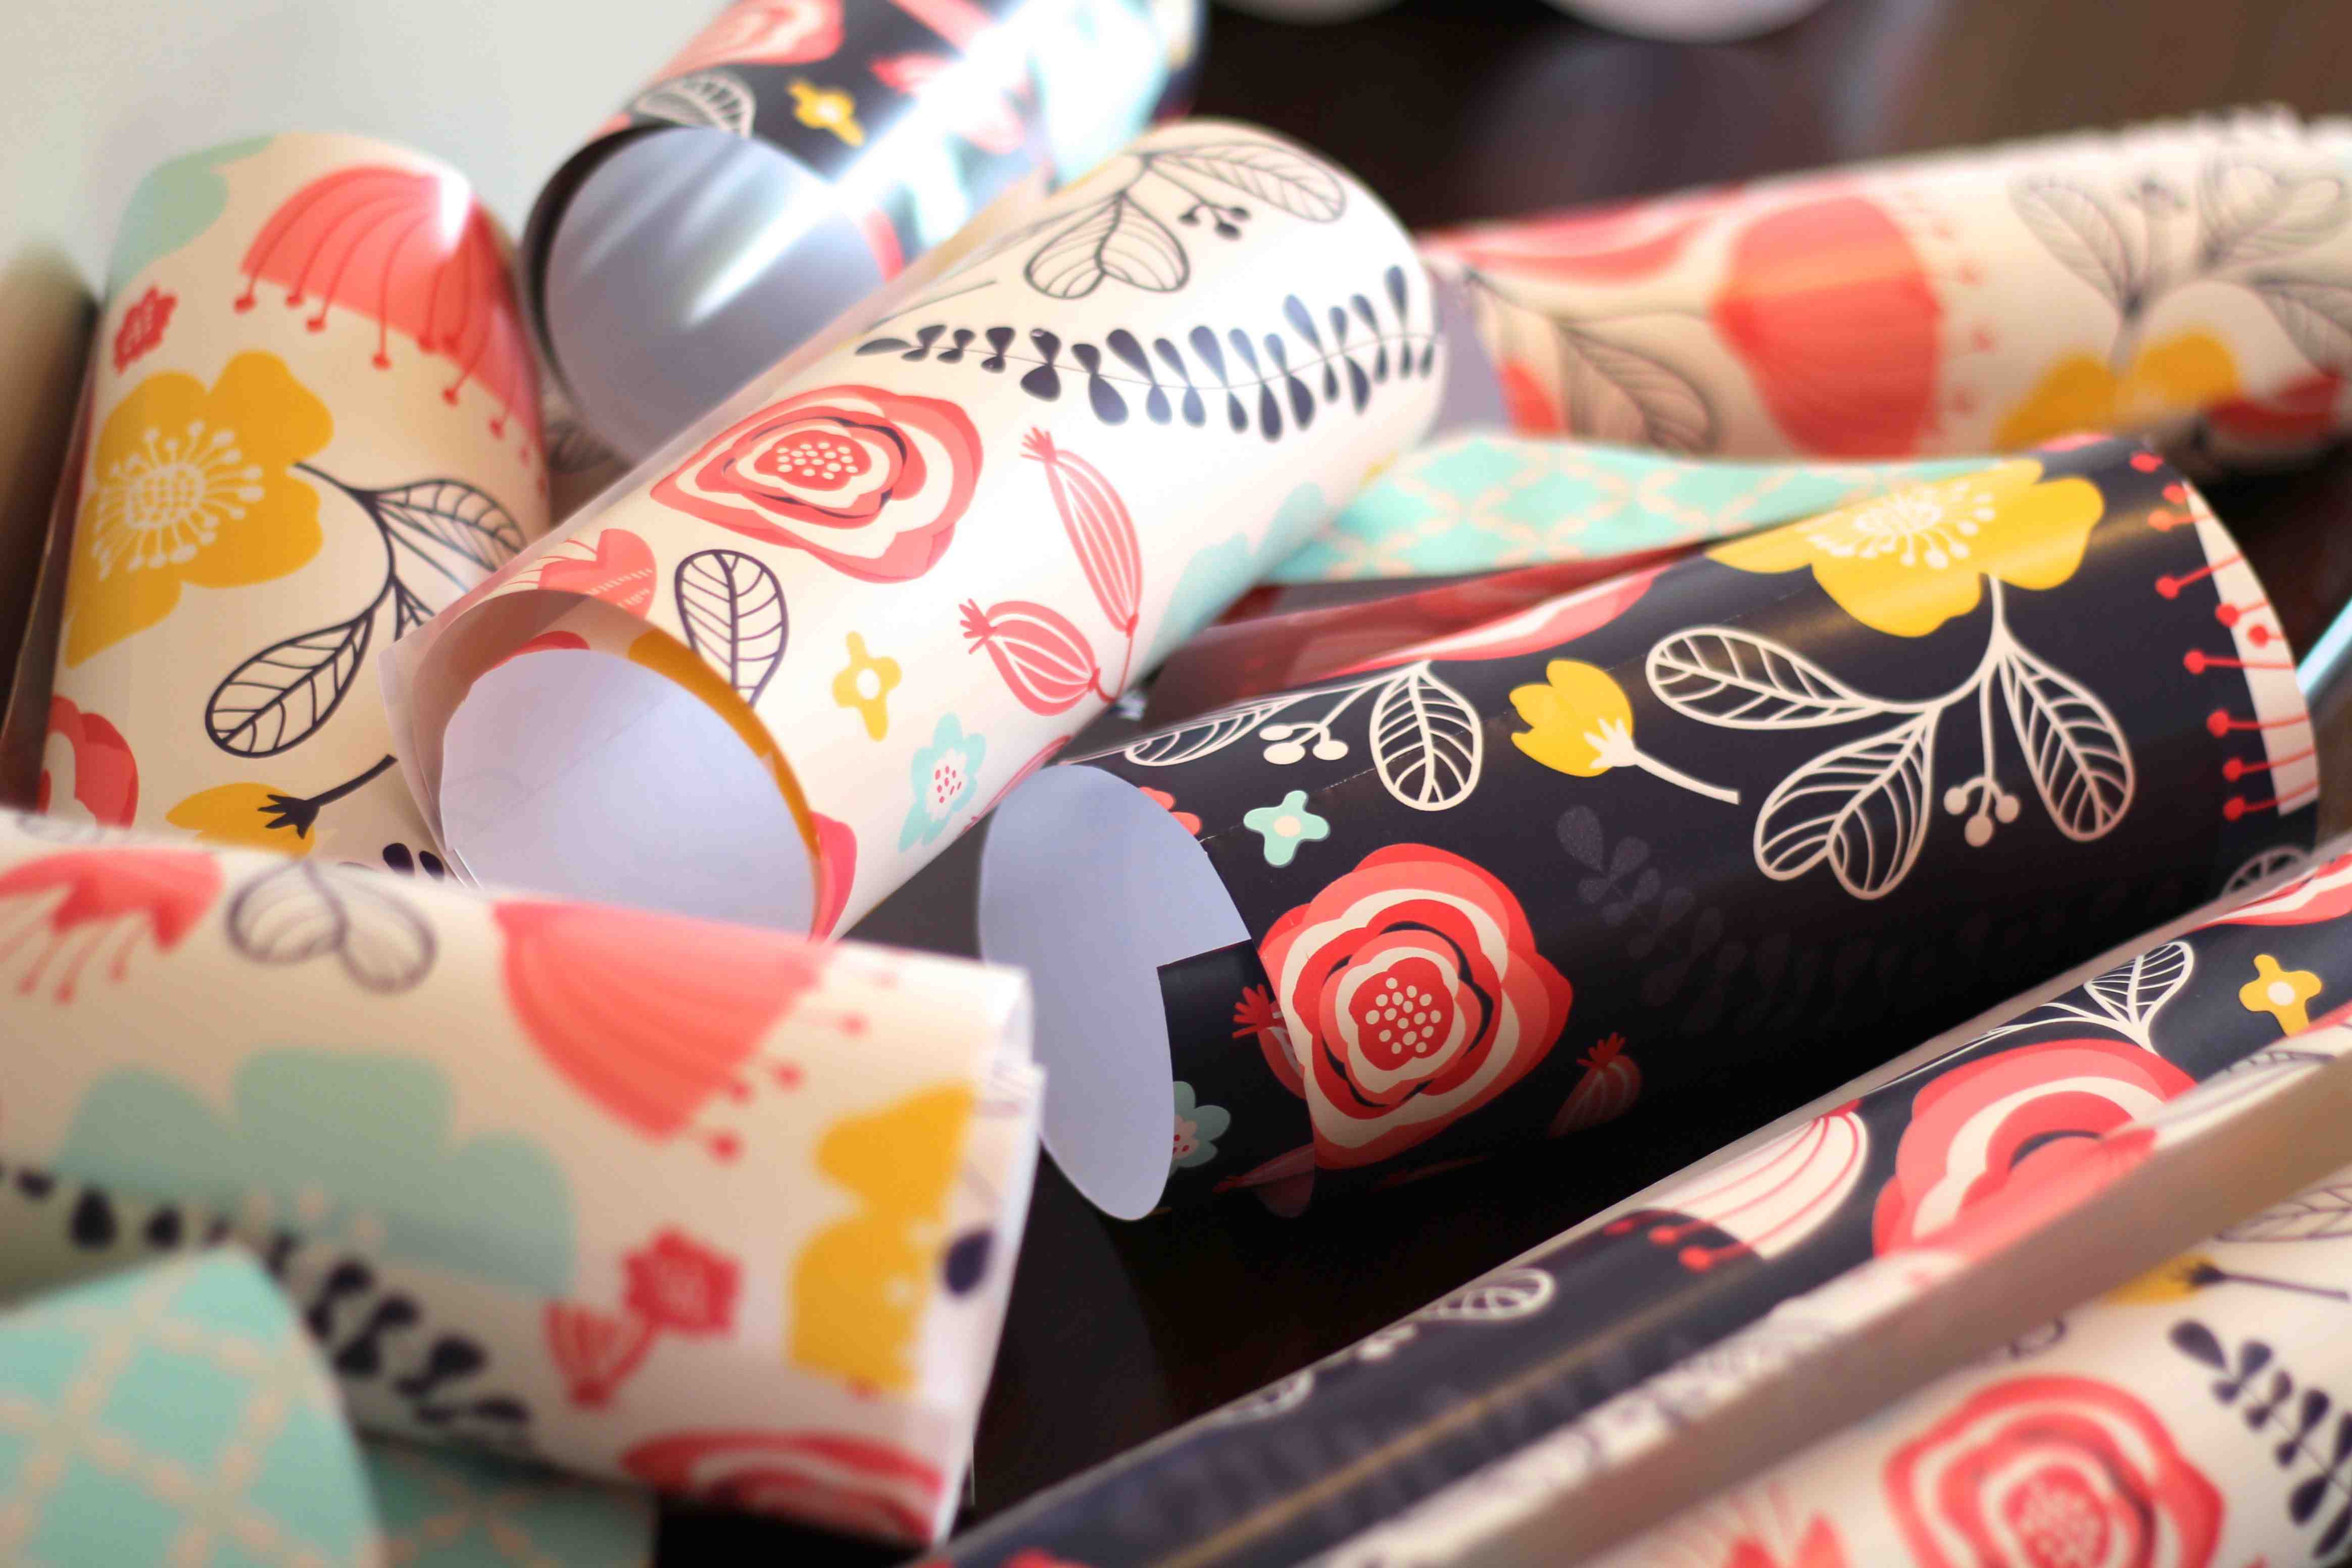
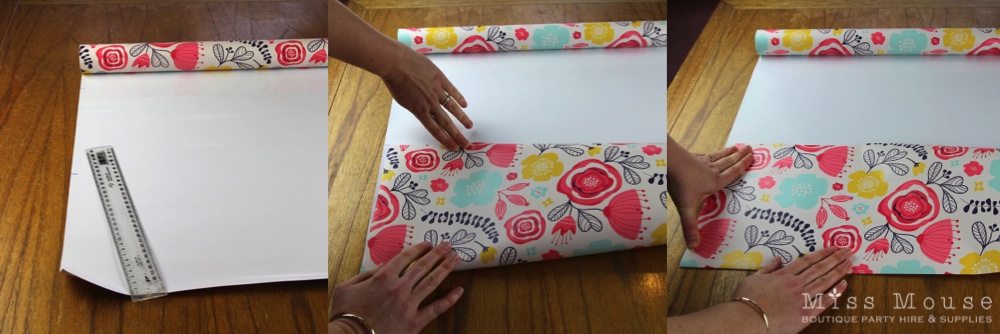
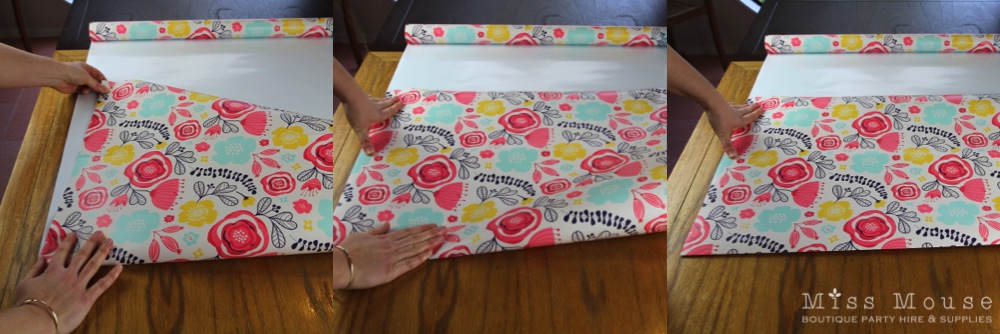
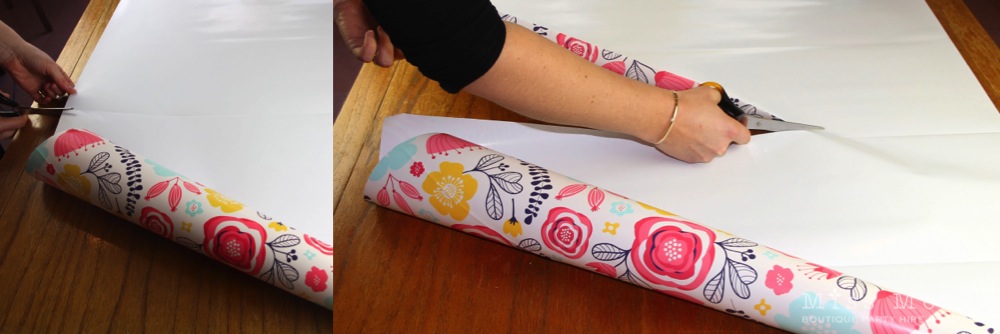
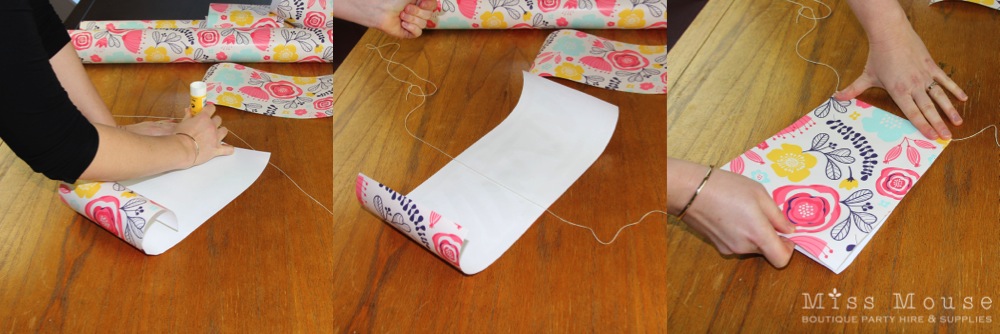
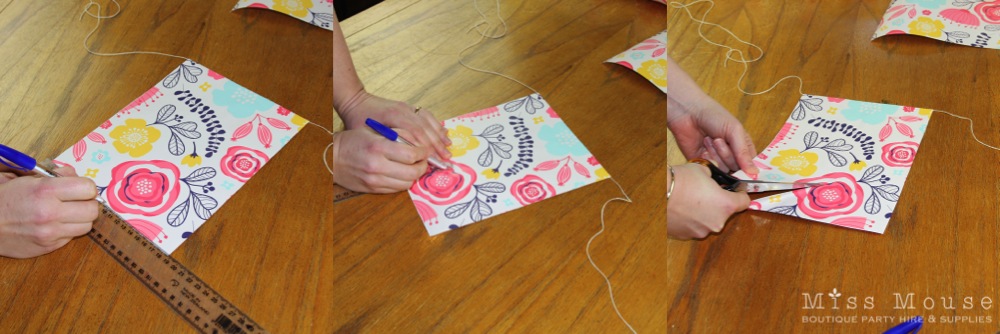
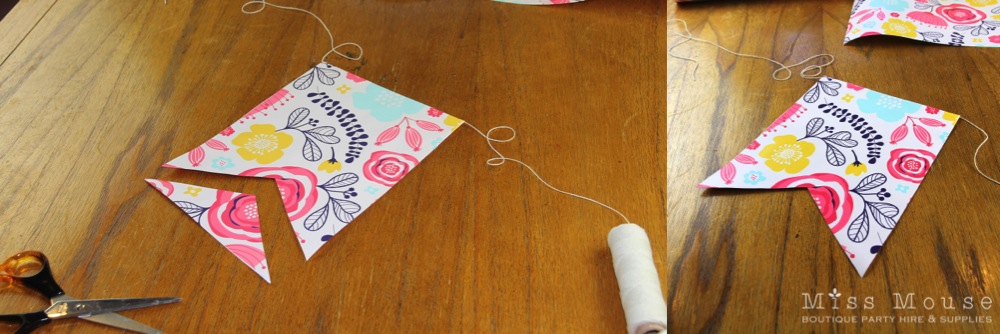
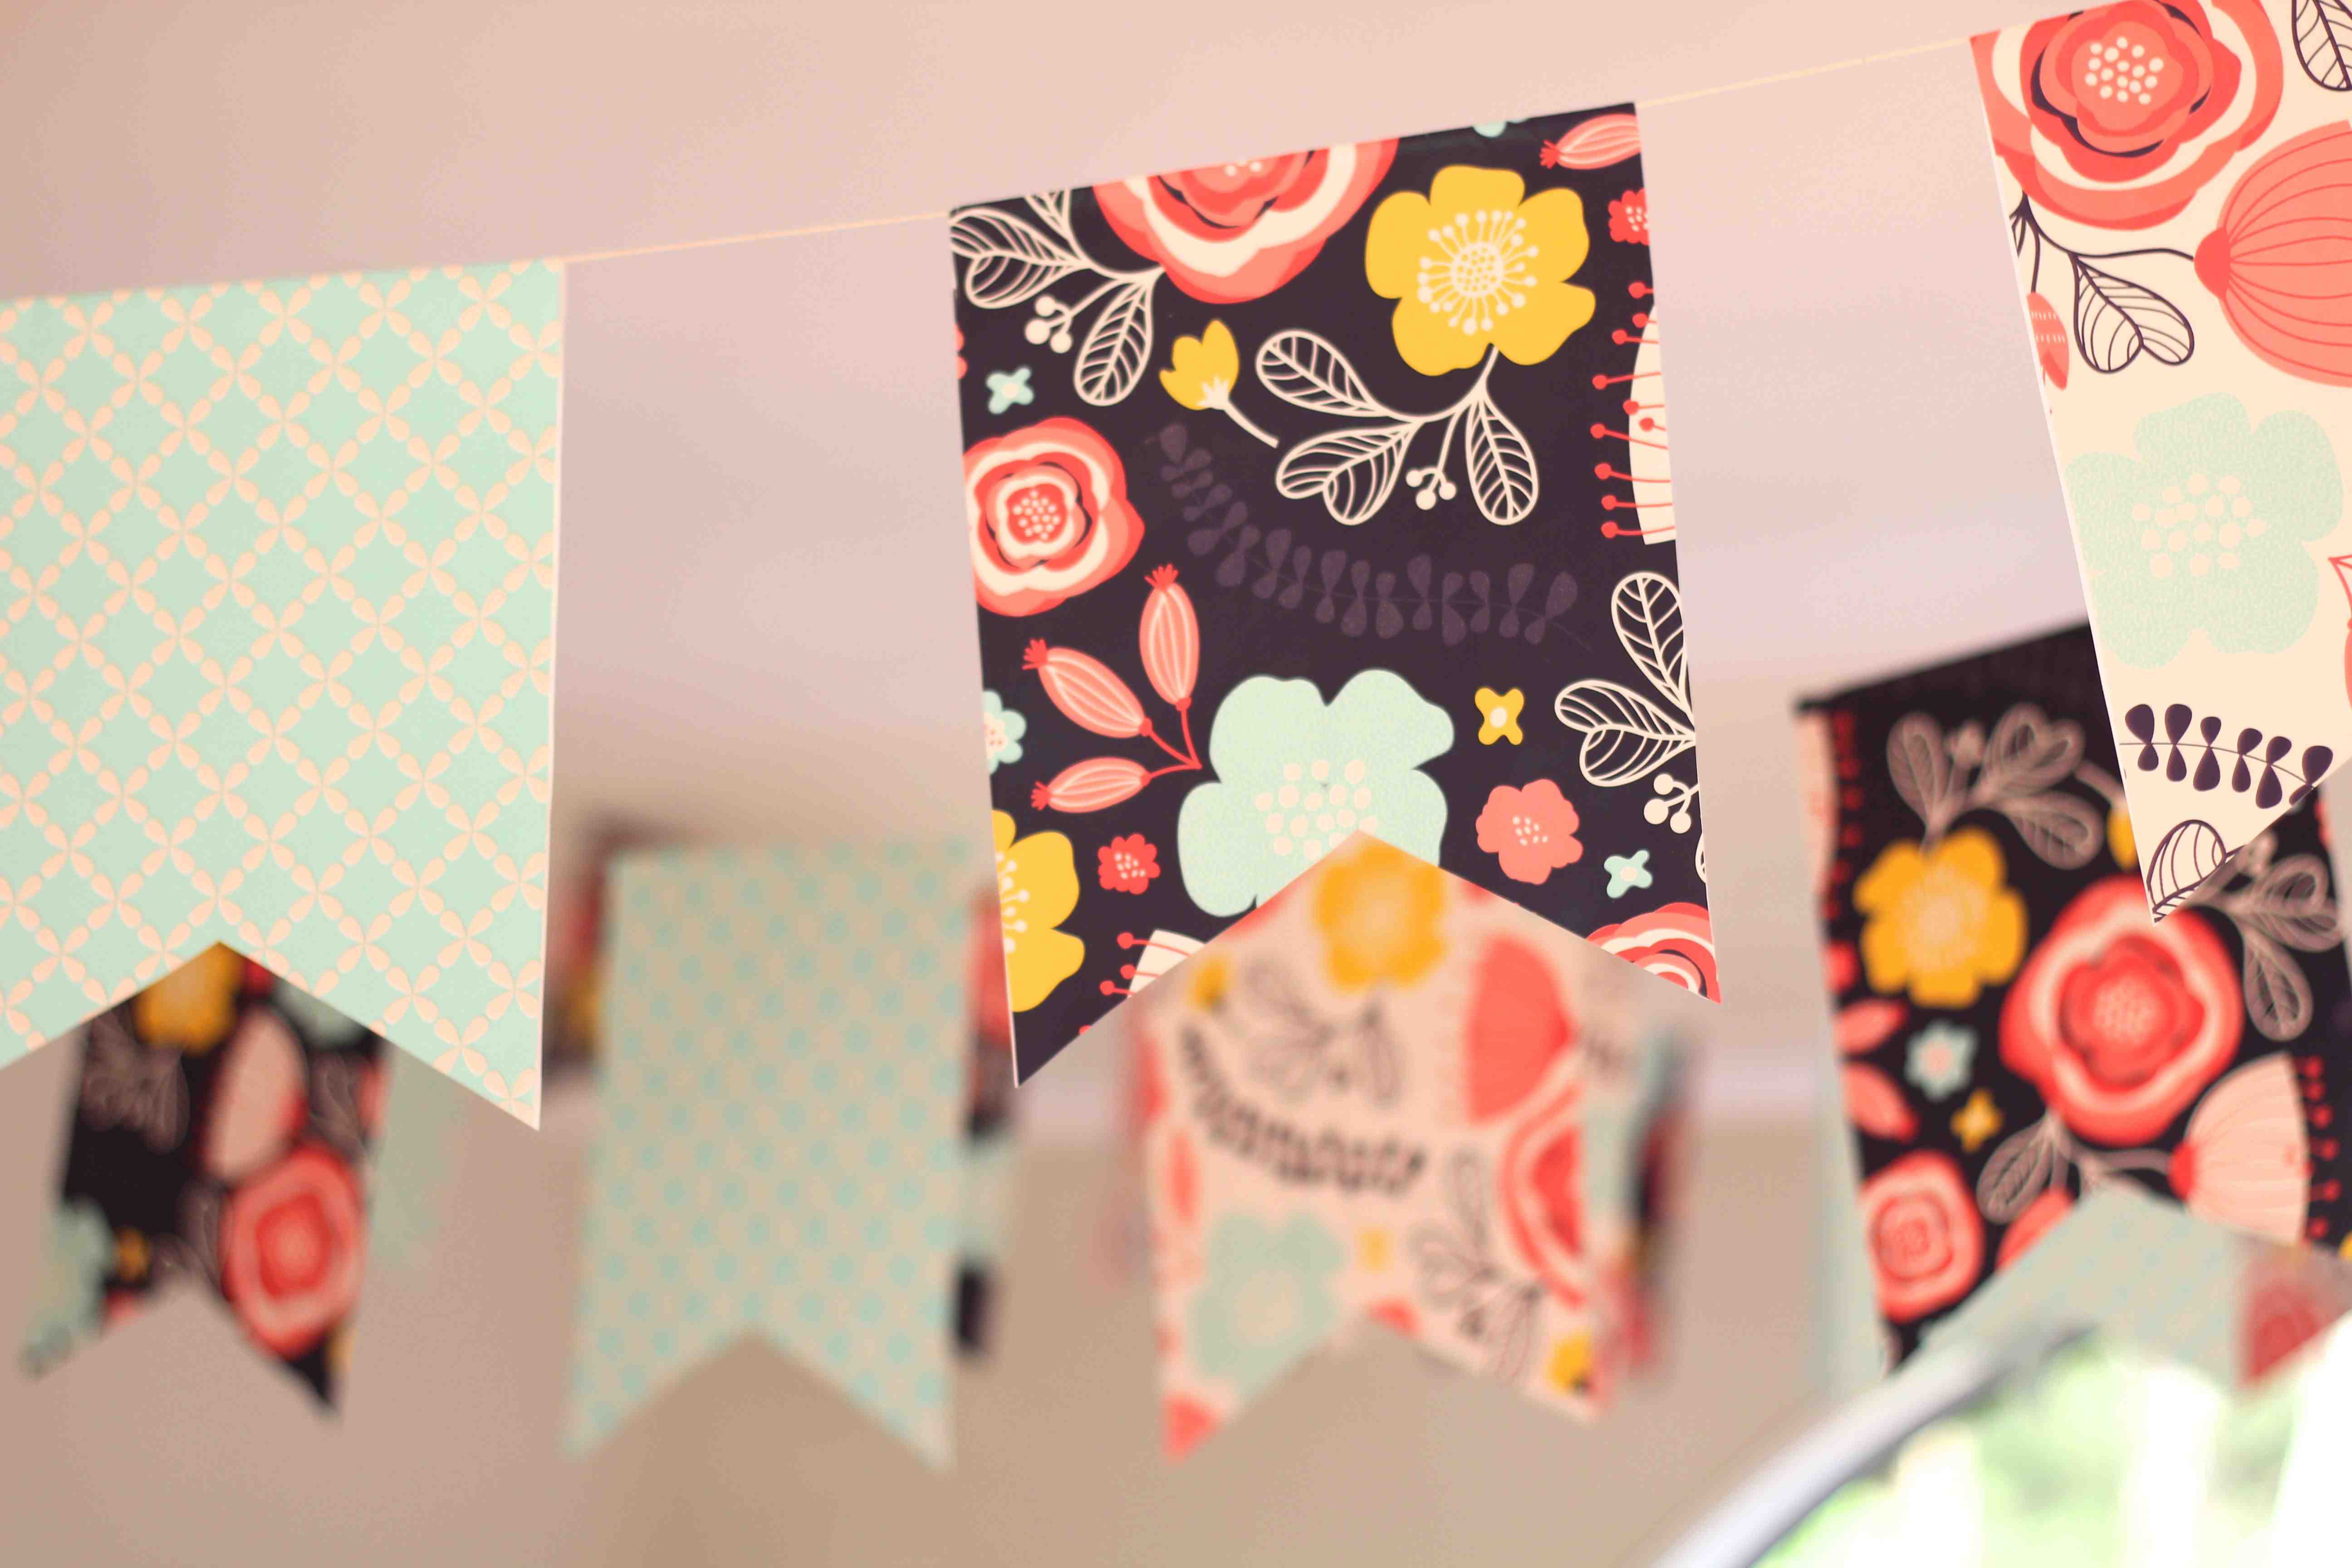
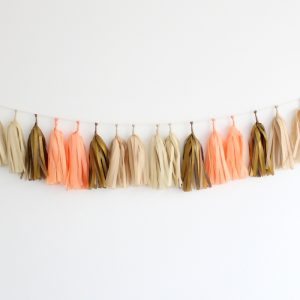
Wow they’re so beautiful! And such a good idea to use wrapping paper! That’s perfect 🙂
Thanks Rosie 🙂 This wrapping paper is thick and glossy so is perfect for all sorts of party crafts. Doesn’t go wrinkly when applying the glue and you can move the papers around easily when you are trying to line everything up during the sticking stage 🙂
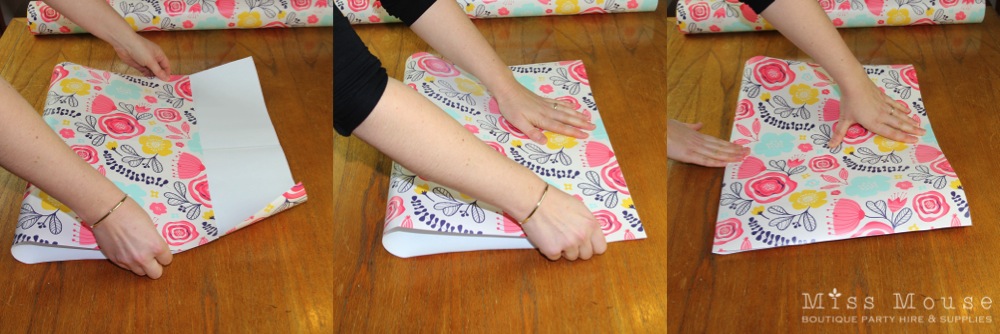
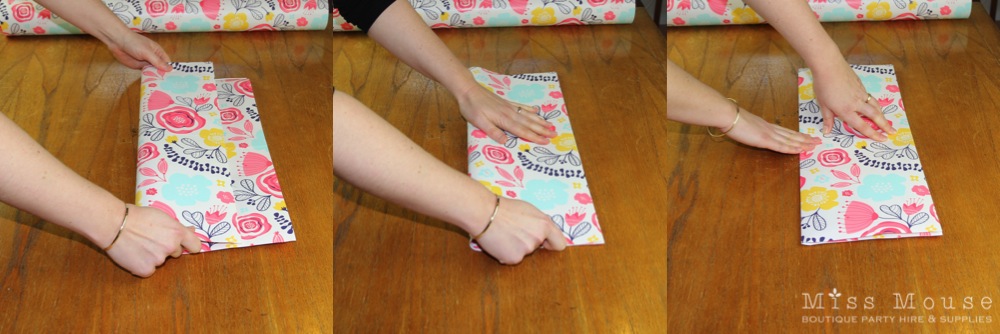
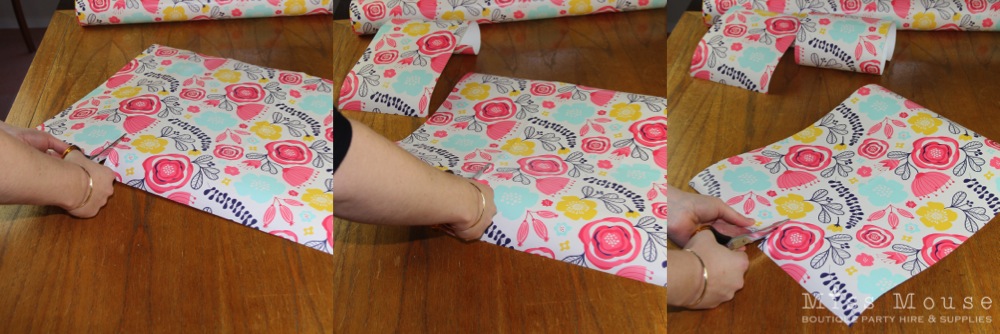
I love the colours in the wrapping paper you’ve used. You’re instructions are easy to follow. Thanks for adding the photos that really helps a visual person like me.
You’re welcome Keryn 🙂 I find photos really good to follow too. Thanks for your kind words 🙂